A simple, crisp biscuit you can make with few tools and easy steps.
INTRODUCTION
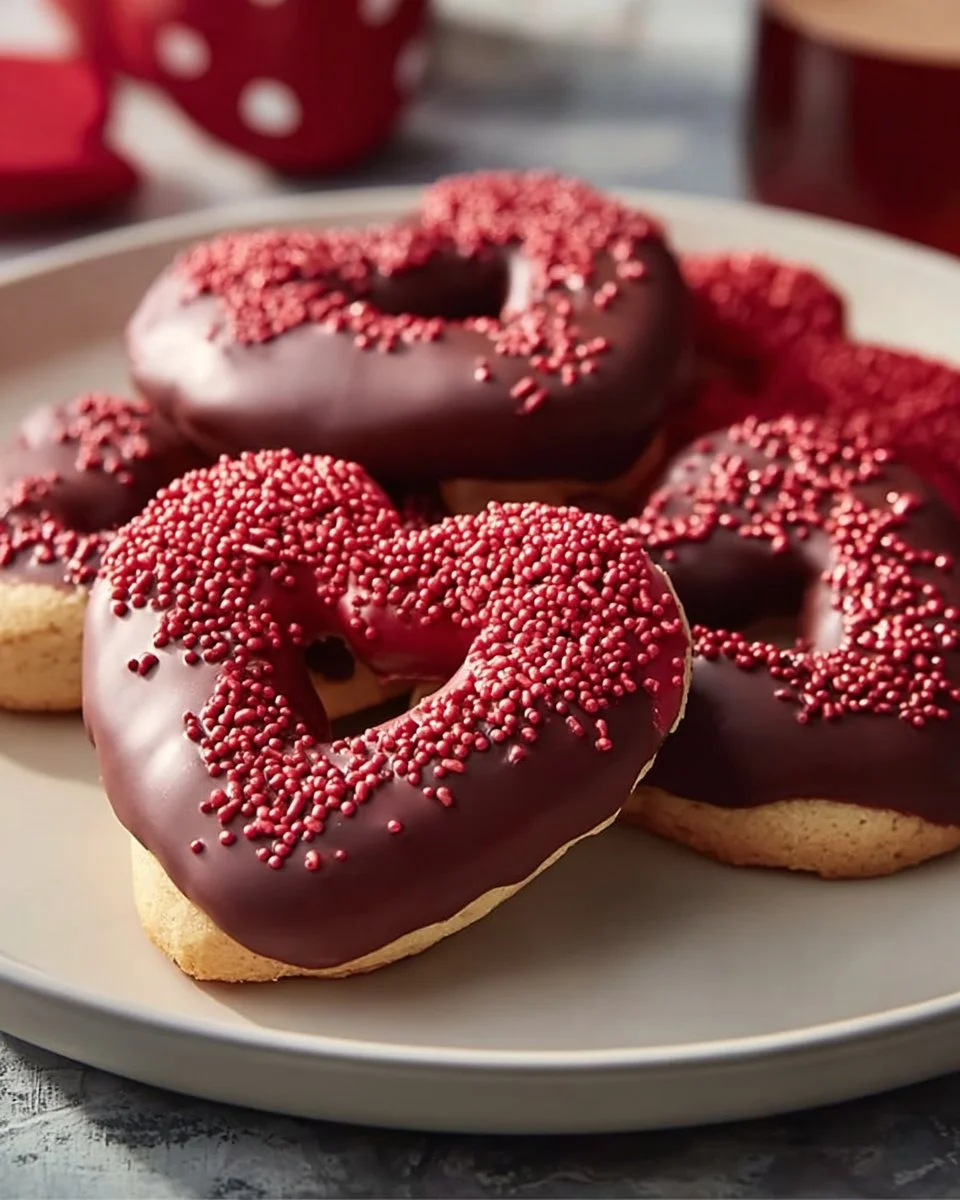
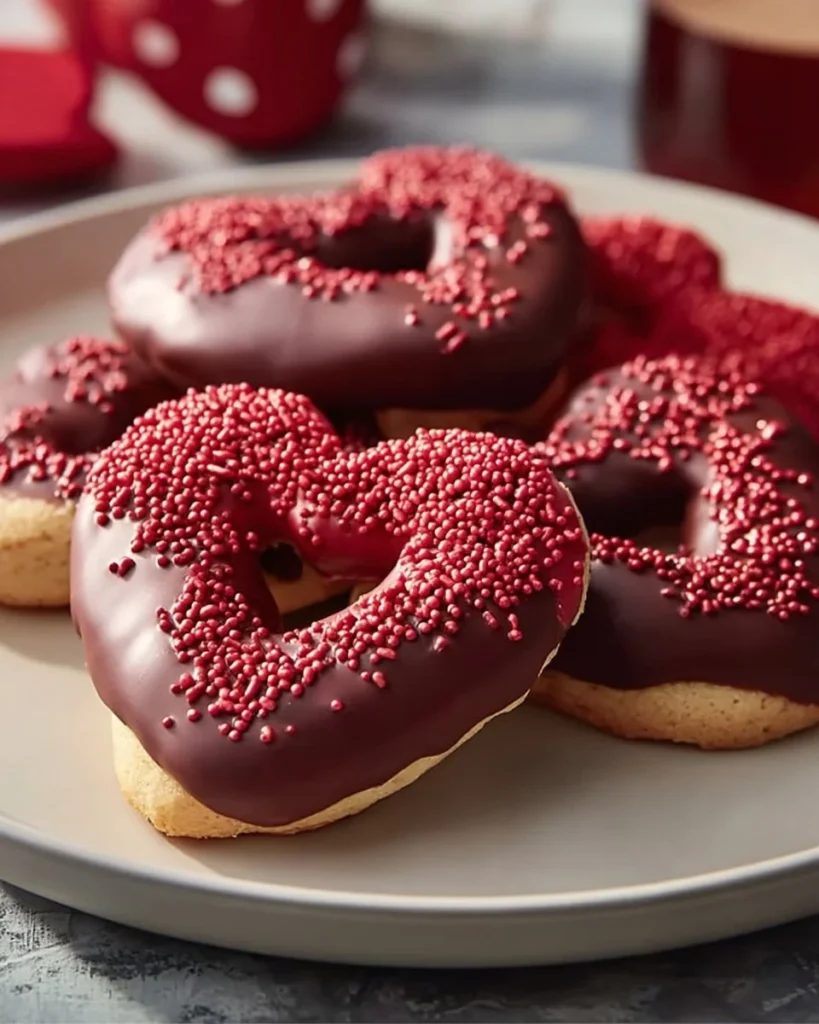
These Crisp and Buttery Danish Butter Biscuits with Chocolate Dip are small, light, and very good. They break with a soft snap. The butter gives them a rich taste. The chocolate dip adds a smooth close to each bite. You can make them with common items from the pantry. You can shape them into hearts or circles. You can make them plain or dip them in chocolate. This recipe fits a quiet tea, a party tray, or a treat for kids.
If you like a short, crisp cookie, you will like these. If you like recipes that are simple, these will work well. The dough is soft and easy to pipe. You chill the shapes so they keep their form in the oven. The bake is short. The result is light, buttery, and crisp. Try it with a warm drink or a cold glass of milk. For a warm drink idea, try the hibiscus tea with ginger and turmeric for a bright, spicy match.
WHY YOU WILL LOVE THIS RECIPE
This recipe is simple and clear. It uses few ingredients you likely have. The dough comes together fast. You do not need to roll or cut the dough; you pipe it. Piping gives neat, pretty shapes with little work. Chilling is the step that keeps the shapes from spreading. The bake time is short, so you get warm cookies fast.
The texture is light and crisp with a melt-in-your-mouth butter note. Then the chocolate adds a rich taste and a bit of moisture. You can use dairy or plant butter, and dairy or plant milk for a dairy-free treat. The recipe also lets you make small batches fast. If you want a hot chocolate pairing, try the boozy Baileys hot chocolate or a simple cocoa for a cozy pair.
HOW TO MAKE Crisp and Buttery Danish Butter Biscuits with Chocolate Dip
Make sure your butter is very soft. Use soft butter to get the right texture in the dough. Use a mixer to cream the butter and sugar until it looks light and fluffy. Mix in milk, salt, and vanilla. Add the flour and cornstarch last. Stir just until you have a soft dough.
Fill a piping bag with a star tip. Pipe small hearts or circles about 1.5 inches across. The size matters for even bake time. Chill the piped shapes for two hours. Bake at 350°F (175°C) for 12 to 15 minutes. The edges will turn light gold. Let them cool fully on the tray. If you dip them in chocolate, melt the chocolate over a double boiler and add a little oil. Dip half of each biscuit into chocolate and set them on parchment to firm.
A few small tips while you make them: use a wide star tip for pretty ridges. Use parchment so the bottoms do not stick. Do not overwork the dough once you add flour. If your dough is warm, chill it a bit before piping. If you want a firmer cookie, bake one or two minutes more, but watch so they do not darken too much. This method is easy and gives a steady result. You can find a cold apple drink that pairs well with these on the site like the apple and ginger cooler.
EQUIPMENT NEEDED
- Electric mixer or hand mixer to cream butter and sugar.
- Mixing bowl for dough.
- Sifter or fine sieve for flour and cornstarch (optional).
- Piping bag and star tip for shaping.
- Parchment paper or silicone mat to line the tray.
- Baking trays to hold the piped biscuits.
- Small heatproof bowl and a pot to make a double boiler for melting chocolate.
- Spatula and spoon for mixing and dipping.
- Cooling rack or tray to let biscuits cool and set.
Ingredients You’ll Need :
- 1 cup (225g) very soft butter (or vegan butter for dairy-free)
- ½ cup (100g) caster sugar (or golden/cane sugar)
- 1¾ cups (220g) all-purpose flour
- ¼ cup (30g) cornstarch
- 2 tablespoons milk or cream (dairy or plant-based)
- 1 teaspoon vanilla extract
- ¼ teaspoon salt
- 8 oz (225g) chocolate (for dipping, optional)
- 1 tablespoon oil (for chocolate coating, optional)
STEP-BY-STEP INSTRUCTIONS :
- Cream soft butter and sugar together until light and fluffy, about 3-4 minutes with a mixer.
- Mix in milk, salt, and vanilla until well combined.
- Add flour and cornstarch, stirring just until a soft dough forms.
- Fill a piping bag fitted with a star tip with the dough.
- Pipe small hearts or circles about 1.5 inches across onto a parchment-lined baking tray.
- Chill the piped shapes for 2 hours before baking.
- Preheat oven to 350°F (175°C).
- Bake for 12-15 minutes until edges turn golden.
- Let cool completely on the tray before handling.
- For chocolate coating: Melt chocolate over a double boiler, stir in oil, and let cool to room temperature.
- Dip half of each cooled biscuit into chocolate and place on parchment paper.
- Let chocolate set for about 1 hour at room temperature.

After the chocolate sets, store the biscuits in a cool place. If your room is warm, keep them in the fridge once the chocolate has set.
HOW TO SERVE Crisp and Buttery Danish Butter Biscuits with Chocolate Dip
Serve these biscuits on a small plate or a pretty tray. They work well with tea, coffee, or milk. For a party, place them near other small sweets and fruits. You can offer them plain or half-dipped in chocolate. Serve at room temperature for best taste and texture. For a warm pairing, make a spiked hot chocolate or a cold frappuccino. If you like a dessert drink, try the apple crisp oat milk frappuccino for a fun match.
If you want to make a gift bag, place the biscuits in a paper bag with tissue. Keep the chocolate-dipped side up or separated by parchment so they do not stick.
STORAGE & FREEZING : Crisp and Buttery Danish Butter Biscuits with Chocolate Dip
To store at room temperature: place the biscuits in an airtight container. Put a sheet of parchment between layers to stop sticking. Keep them at room temperature for up to 5 days if the room is cool and dry.
To store in the fridge: place the biscuits in a tight container with parchment between layers. Chill for up to 2 weeks. The chocolate will stay firmer in the fridge.
To freeze: put the plain, baked biscuits in a flat layer on a tray and freeze until hard. Then move them to a freezer bag or box with parchment between layers. Freeze for up to 3 months. Thaw at room temperature before dipping in chocolate. If you freeze chocolate-dipped biscuits, wrap them well to avoid frost and thaw in the fridge so the chocolate does not bloom.
SERVING SUGGESTIONS
- Place a few biscuits on a saucer with tea or coffee.
- Serve with a small scoop of vanilla ice cream for a simple dessert.
- Arrange biscuits on a board with fresh fruit and a few nuts.
- Add them to a gift box with other small cookies and candies.
- Pair with a warm spiced drink or a cold apple cooler for a fresh contrast; a good option is the boozy chili hot chocolate for a bold match.
These ideas keep the mood light and let the cookie shine.
VARIATIONS
- Lemon zest: add a little lemon zest to the dough for a bright note.
- Almond: add a few drops of almond extract instead of vanilla for a nutty change.
- Cocoa dough: add 1-2 tablespoons of cocoa powder to the flour for a chocolate biscuit base.
- Sprinkles: dip in chocolate and add sprinkles before the chocolate sets for a fun look.
- Nuts: chop toasted almonds or hazelnuts and press them onto the chocolate half before it firms.
- Gluten-free: swap the flour for a 1:1 gluten-free blend that can handle folding; check texture and chill a bit longer if needed.
Keep changes small to keep the crisp texture.

FAQs
Q: Can I make the dough by hand?
A: Yes. Use a wooden spoon or spatula to beat the butter and sugar until smooth. It takes more time, but you can do it.
Q: Can I skip chilling?
A: You can, but the shapes may spread and lose detail. Chill for best shape and texture.
Q: Can I use a different chocolate?
A: Yes. Use dark, milk, or white chocolate. Add a bit of oil to make it smooth for dipping.
Q: How do I know when they are done?
A: The edges will turn a light gold. The center may still look pale. Let them cool; they will crisp as they cool.
Q: Can I double the recipe?
A: Yes. Mix in a larger bowl and pipe more shapes. Chill in batches if your trays are small.
Q: How do I keep them crisp in humid weather?
A: Store them in an airtight box with a small packet of dry rice wrapped in cloth or a food-safe desiccant to absorb moisture, and keep them in a cool spot.
MAKE-AHEAD TIPS FOR Crisp and Buttery Danish Butter Biscuits with Chocolate Dip
- You can make the dough and keep it in the fridge for up to 2 days before piping. Wrap it well.
- Pipe the shapes and freeze them on a tray until firm. Move to a bag and hold them frozen. Bake from frozen, adding a minute or two to the bake time.
- Bake the biscuits ahead and store plain in an airtight tin for up to 5 days. Dip in chocolate just before serving for best look.
- For a big event, bake plain biscuits and freeze. Dip half in chocolate on the day you serve them.
- If you bake and dip the day before, keep them in a cool, dry place or in the fridge if your home is warm.
Conclusion
These Crisp and Buttery Danish Butter Biscuits with Chocolate Dip are easy to make and fun to share. They use few ingredients and give a light, crisp bite that pairs well with many drinks and snacks. For another classic butter cookie idea and tips you can use, see the Butter Cookies – Sugar Spun Run.
Crisp and Buttery Danish Butter Biscuits with Chocolate Dip
Ingredients
Method
- Cream soft butter and sugar together until light and fluffy, about 3-4 minutes with a mixer.
- Mix in milk, salt, and vanilla until well combined.
- Add flour and cornstarch, stirring just until a soft dough forms.
- Fill a piping bag fitted with a star tip with the dough.
- Pipe small hearts or circles about 1.5 inches across onto a parchment-lined baking tray.
- Chill the piped shapes for 2 hours before baking.
- Preheat oven to 350°F (175°C).
- Bake for 12-15 minutes until edges turn golden.
- Let cool completely on the tray before handling.
- For chocolate coating: Melt chocolate over a double boiler, stir in oil, and let cool to room temperature.
- Dip half of each cooled biscuit into chocolate and place on parchment paper.
- Let chocolate set for about 1 hour at room temperature.