
INTRODUCTION
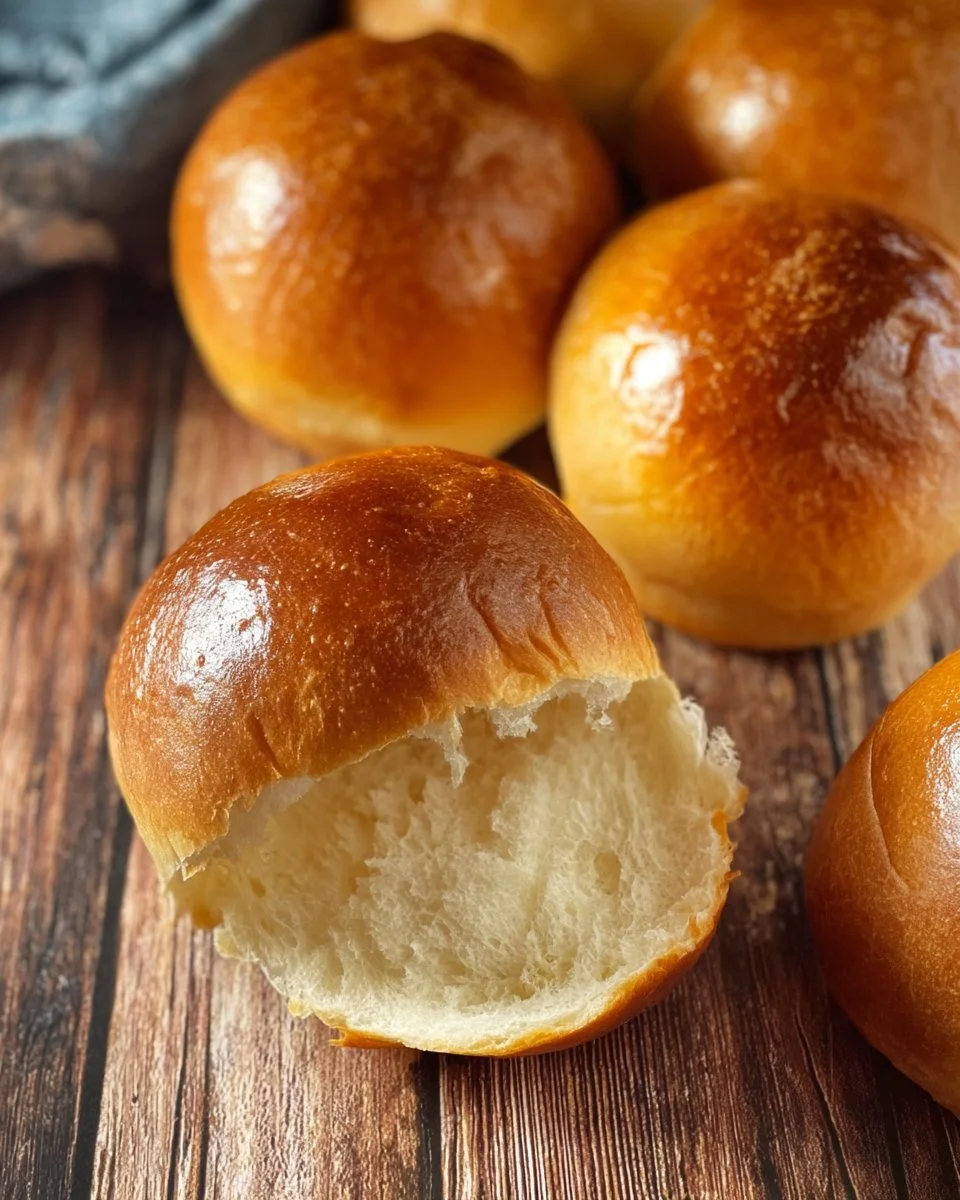
Homemade Soft and Crusty Bread Bowls are warm, cozy, and fun to make. These bowls are soft inside and have a nice crust on the outside. You can fill them with soup, stew, chili, or your favorite dip. They look fancy but they are simple to make at home.
A bread bowl meal can be a lighter option when you control the filling and portion. For a balanced meal, fill it with vegetable soup and lean protein. If you want a drink to match, try a cold, fresh fruit drink like an apple and ginger cooler with your bowl for a bright, fresh pairing.
WHY YOU WILL LOVE THIS RECIPE
You will love these bread bowls because they are warm, filling, and easy to share. They are a great choice for meal prep. Make a batch on the weekend and fill them during the week. This recipe can be a healthy version of bread bowls when you pick low-sodium soups and add lean protein or beans. It can also be a lighter option by serving smaller portions of bread and more vegetables.
They work well for families and for people who want a comforting meal that can be balanced. With small changes, you can make a high protein meal or a lower carb choice. These bowls are also easy to freeze for later, which makes them good for meal prep and busy days.
HOW TO MAKE Homemade Soft and Crusty Bread Bowls
This is a simple recipe with basic steps. Follow the instructions and you will have round bread bowls ready for any filling.
EQUIPMENT NEEDED
- Large mixing bowl or stand mixer with dough hook
- Measuring cups and spoons
- Small bowl for yeast
- Silicone mat or parchment paper
- Baking sheet (extra large or two large sheets)
- Plastic wrap and clean kitchen towel
- Instant read thermometer (optional but helpful)
- Cooling rack
Ingredients You’ll Need :
2-1/4 cups warm water (about 110-115 degrees), 1-1/2 Tbsps dry instant yeast, 1 Tbsp granulated sugar, 6 to 6-1/2 cups bread flour ((can substitute AP in a pinch, but bread is best)), 1 Tbsp salt, 3 Tbsps olive oil
STEP-BY-STEP INSTRUCTIONS :
Place warm water in a small bowl. Sprinkle in the yeast then sprinkle the sugar over the top of the yeast. Stir and let sit for a couple of minutes, (the yeast will become foamy – that let’s you know it’s fresh and ready.). In your mixer bowl, add 6 cups of the flour and the salt and whisk until combined. To the flour mixture add the yeast mixture and olive oil. Mix with the dough hook until combined, scraping down as needed. Add remaining flour by the spoonful ONLY IF NEEDED until the dough is tacky but not overly sticky on your fingers. (You might not need any or all of the remaining flour.) Let the mixer knead the dough for 5 minutes on low speed (I use speed 2 on my Kitchen Aid.). Remove the bowl from the mixer, remove the dough hook and use a spatula to gently bring the dough together. Move the dough around the bowl while you spray lightly underneath with non stick cooking spray. Lightly spray the top of the dough, cover the bowl with saran wrap and a clean cotton kitchen towel and then let rise in a warm spot for an hour or until it is doubled in size. Line one extra large or two large baking sheets with silicone mats or parchment paper. Once the dough has risen, punch it down, empty it out on to a lightly floured surface, and divide into six equal size pieces. Work with one piece of dough at a time. Flatten the dough out with the palm of your hand or a rolling pin to get rid of any bubbles, then form each piece in to a ball by pulling the edges of the dough in to the center, then flipping over and using your cupped hands to gently spin the dough on the floured surface until it is nice and smooth. Place the balls on the baking sheet(s) so they have plenty of space between them, then cover again with the cotton towel and let rise again in a warm spot for about 30 minutes. When ready to bake, preheat oven to 375. (You can spray each of the balls with a little warm water at this point to make them a little extra chewy! This is optional.). Bake on the middle rack for 15-20 minutes, or until golden brown, (bread should register around 190 degrees with an instant read thermometer to be beautifully baked ). Remove from the oven and transfer to a cooling rack to cool. When ready to use, slice off the tops, scoop out the insides with your hands, and fill with soup or even your favorite dip! (Serve the scooped out insides on the side for dipping in the soup or dip.)

HOW TO SERVE Homemade Soft and Crusty Bread Bowls
Serve the bread bowls with soups that add protein and fiber. Good choices are hearty vegetable and bean soup, chicken and vegetable soup, or lentil stew. These fillings will make the meal balanced and more filling while keeping added sugar low. For a lighter option, fill only half the bowl with soup and serve a side salad to increase vegetables.
Portion control tips:
- Use one small bowl per person instead of a very large one.
- Scoop out most of the bread interior and keep 1/2 to 3/4 inch of shell so you get the crust and still save calories.
- Pair with a large salad or steamed vegetables instead of fries.
- For a high protein meal, add shredded chicken, Greek yogurt stirred into the soup, or beans.
A seasonal drink can pair well. For winter meals, a warm spiced drink like a cozy gingerbread latte is a nice treat and not too sweet when you make it at home. Try a homemade cozy gingerbread latte with your bread bowl for a warming combo.
STORAGE & FREEZING : Homemade Soft and Crusty Bread Bowls
To store:
- At room temperature: Keep in a paper bag or covered with a cloth for up to 2 days. This keeps the crust crisp.
- In the fridge: Bread can dry out, so use only if you will eat in 3-4 days.
To freeze:
- Cool completely, then wrap each bowl in plastic wrap and then foil. Freeze for up to 3 months.
- To reheat: Thaw in the fridge overnight or on the counter for a few hours. Warm in a 350°F oven for 8–12 minutes or in a toaster oven until crisp. For a quick reheat, use an air fryer at 320°F for 4–6 minutes for a crispy shell.
If you like quick drink pairings with your stored bowls, consider trying a peppermint mocha for a simple treat. A small cup can add a festive note while keeping sugar in check when you make it at home: cozy up with a homemade peppermint mocha.
SERVING SUGGESTIONS
Healthy side options:
- Large green salad with lemon vinaigrette (low calorie, heart healthy).
- Steamed broccoli or roasted root vegetables for fiber.
- A side of beans or quinoa salad to add protein and fiber.
If you want a low-sugar or diabetic-friendly meal, choose soups with little or no added sugar, add lean protein, and pair with non-starchy vegetables. A small bread bowl with a large vegetable soup can be good for weight loss when portions are controlled.
VARIATIONS
-
Healthier version: Use half whole wheat bread flour and half bread flour. Whole wheat adds fiber and keeps you full longer. Cut portion sizes and scoop more of the interior out to lower calories. This is a healthy version that still has a good crust and a soft inside.
-
High-protein or low-carb version: For higher protein, add vital wheat gluten to the dough or mix in a few tablespoons of unflavored whey protein powder that is baking-safe (test small changes first). Another high protein option is to use chickpea flour or a blend with vital wheat gluten to form the dough — this increases protein and fiber. For a low carb version, make small rounds using a low-carb bread recipe with almond flour and psyllium husk to create mini bread bowls. These will be denser but work well for thick, high protein stews. This variation can become a high protein meal when filled with beans, lentils, or lean meat.
-
Air fryer or oven-baked version: The basic recipe is oven baked at 375°F. For an air fryer option, make smaller rolls and bake them in the air fryer at 330–350°F for 10–12 minutes, checking often. The air fryer gives a nice crust quickly. For reheating, the air fryer is great: 320°F for 4–6 minutes keeps the shell crisp. This makes bread bowls easy for quick meals and great for meal prep.
FAQs
Q: Are these bread bowls good for people watching calories or trying weight loss?
A: Yes. They can be part of a meal for weight loss if you control portion size and fill the bowl with low-calorie, high-fiber soups and vegetables. Scoop more of the interior out to reduce bread volume and calories.
Q: Can these be made diabetic-friendly?
A: Yes. Use whole wheat flour to add fiber and choose fillings that are low in added sugar. Fill with lean protein and non-starchy vegetables to keep blood sugar stable.
Q: How long will homemade bread bowls last in the freezer?
A: Wrapped well, frozen bread bowls will stay good for up to 3 months. Thaw in the fridge overnight and reheat in the oven or air fryer.
Q: Can I make the dough without a mixer?
A: Yes. You can knead by hand for 8–10 minutes until smooth. The rest of the steps are the same. Hand kneading works well and gives a good result.
Q: How can I add more protein to the bread itself?
A: Add vital wheat gluten or a small amount of unflavored protein powder to the dough. Use chickpea flour in part of the flour mix for extra protein. Also add protein to the filling, like chicken, beans, or lentils.
Q: Is it better to use bread flour or all-purpose flour?
A: Bread flour gives a chewier, better crust. All-purpose flour can work in a pinch, but the texture may be slightly different.
MAKE-AHEAD TIPS FOR Homemade Soft and Crusty Bread Bowls
- Make dough the night before: After the first rise, punch it down, cover it, and refrigerate overnight. In the morning, shape, let rise, and bake. This is great for meal prep.
- Freeze baked bowls: Bake, cool, and freeze individually wrapped bowls. Thaw and reheat when you are ready to fill them.
- Prep fillings ahead: Cook soups or stews and freeze in single portions. On a busy day, thaw and heat the soup, then fill a warmed bread bowl for a quick, healthy meal. This method is great for meal prep and saves time during the week.
This homemade recipe is simple and flexible. With small swaps, you can make a healthier version, turn it into a high protein meal, or choose a low-carb pathway. The result is a warm, satisfying bowl that is great for meal prep and sharing.

Homemade Soft and Crusty Bread Bowls
Ingredients
Method
- Place warm water in a small bowl. Sprinkle in the yeast, then sprinkle the sugar over the top of the yeast. Stir and let sit for a couple of minutes until foamy.
- In a mixer bowl, add 6 cups of flour and the salt; whisk until combined.
- Add the yeast mixture and olive oil to the flour mixture. Mix with the dough hook until combined, scraping down as needed.
- Add remaining flour by the spoonful only if needed until the dough is tacky but not overly sticky on your fingers.
- Knead the dough for 5 minutes on low speed.
- Gently bring the dough together and lightly spray with non-stick cooking spray. Cover with plastic wrap and a clean kitchen towel and let rise in a warm spot for about 1 hour until doubled in size.
- Line baking sheets with silicone mats or parchment paper. Punch down the risen dough and empty it onto a lightly floured surface. Divide into 6 equal pieces.
- Flatten each piece and form into a smooth ball, then place on the baking sheets with space between them.
- Cover again and let rise in a warm spot for about 30 minutes.
- Preheat the oven to 375°F.
- Bake on the middle rack for 15-20 minutes, or until golden brown and the bread registers 190°F with an instant read thermometer.
- Remove from the oven and transfer to a cooling rack to cool.
- When ready to serve, slice off the tops, scoop out the insides, and fill with your desired filling.