
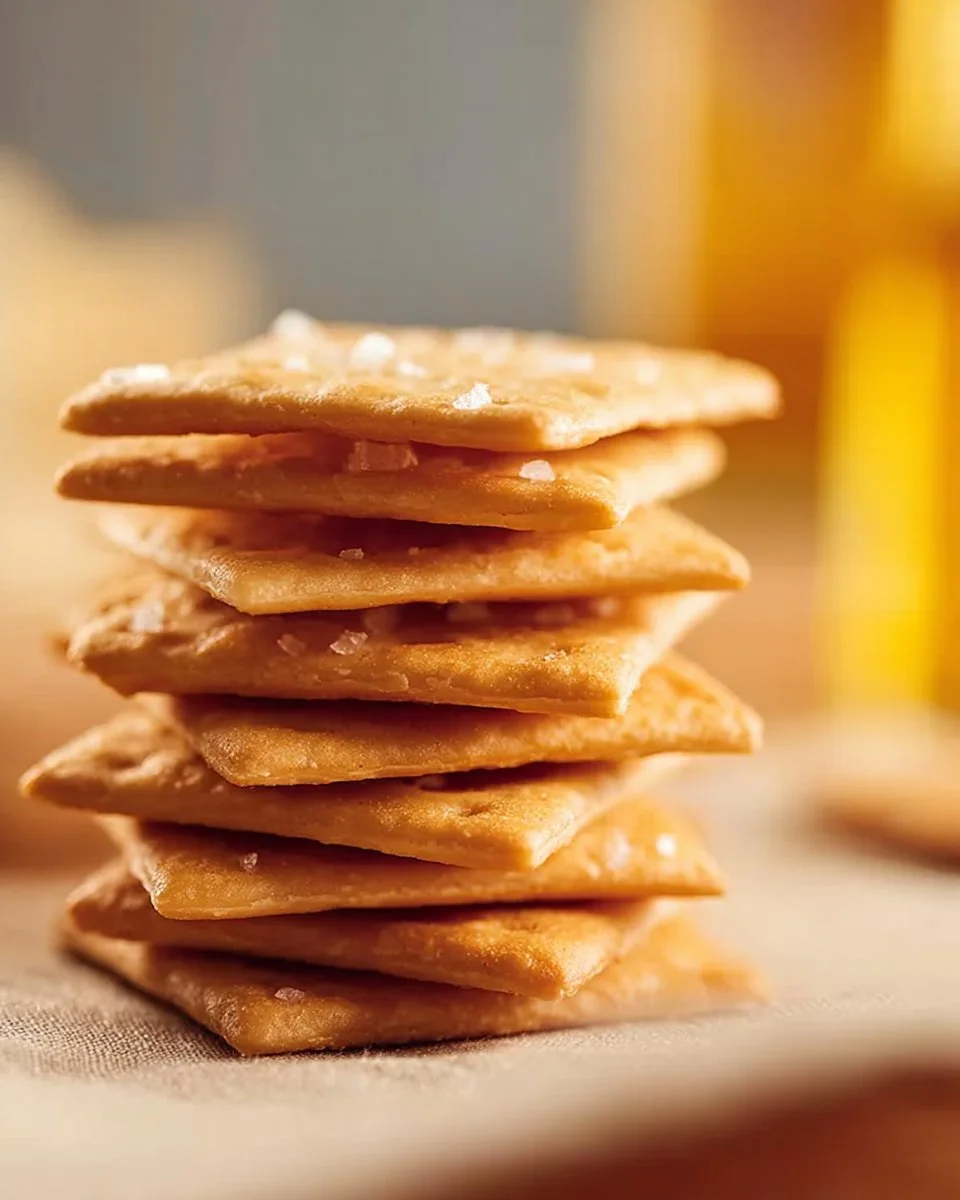
Garlic Chickpea Crackers: A Healthy Crunch
Garlic chickpea crackers are a delightful snack that checks all the boxes for a nutritious and satisfying option. These crackers are baked to perfection, providing a crispy experience without the guilt of traditional snacks. Made with chickpea flour, they are naturally gluten-free and plant-based, making them an incredible option for various dietary needs. Offering a good amount of protein and fiber, these crackers are an excellent choice for those looking to manage their weight, maintain a balanced diet, or simply enjoy a tasty treat.
WHY YOU WILL LOVE THIS RECIPE
You’ll love these garlic chickpea crackers for their health benefits and ease of preparation. They are a lighter option compared to standard crackers loaded with unhealthy fats and artificial ingredients. You can make them quickly, making them ideal for meal prep. Simply whip up a batch, store them, and you have a heart-healthy snack ready to go, helping you stay on track with your health goals.
HOW TO MAKE Garlic Chickpea Crackers
EQUIPMENT NEEDED
To make garlic chickpea crackers, you will need:
- Mixing bowl
- Rolling pin
- Baking sheet
- Parchment paper
- Sharp knife or cookie cutter
Ingredients You’ll Need:
- 1 cup chickpea flour
- 1/4 cup olive oil
- 1/2 teaspoon garlic powder
- 1/2 teaspoon salt
- Water (as needed)
- Optional: herbs or spices (e.g., rosemary, paprika) for flavor
STEP-BY-STEP INSTRUCTIONS :
- Preheat the oven to 375°F (190°C).
- In a bowl, mix the chickpea flour, garlic powder, and salt until well combined.
- Add olive oil and mix to form a crumbly texture.
- Gradually add water until a soft dough forms. Be careful not to make the dough too sticky; the right texture is key.
- Roll out the dough on a lightly floured surface until it is very thin. The thinner the dough, the crispier the crackers will be.
- Cut into desired shapes using a sharp knife or cookie cutter and place them on a baking sheet lined with parchment paper.
- Bake for 15 to 20 minutes, or until golden and crispy. Keep an eye on them as they bake to ensure they don’t burn.
- Let cool before serving, allowing them to reach the perfect crunchiness.

HOW TO SERVE Garlic Chickpea Crackers
You can enjoy garlic chickpea crackers in many ways. They are perfect as a snack on their own or paired with healthy dips like hummus or guacamole. For those who want a little extra, try topping these crackers with sliced avocado or a dollop of Greek yogurt mixed with fresh herbs. When serving, remember that portion control is key; a handful makes a satisfying snack without overindulging.
STORAGE & FREEZING: Garlic Chickpea Crackers
These crackers are best stored in an airtight container at room temperature, where they can stay fresh for about a week. For longer storage, you can freeze them. Just ensure they are completely cool before placing them in a freezer-safe bag. They can last for up to three months in the freezer. When ready to eat, pop them in the oven for a few minutes to regain their crispy texture.
SERVING SUGGESTIONS
For a balanced meal option, serve garlic chickpea crackers alongside a fresh salad loaded with leafy greens, cherry tomatoes, and cucumbers. Add a light vinaigrette for a refreshing touch. Or, consider serving them with a cheese platter featuring low-fat cheese options and fresh fruits to create a delightful snack spread.
VARIATIONS
-
Healthier Version: Add in crushed flaxseeds or chia seeds to boost the fiber content. Alternatively, mix in some finely chopped spinach to sneak in extra nutrients without compromising taste.
-
High-Protein or Low-Carb Version: For a higher protein meal, consider using a combination of chickpea flour and protein powder designed for baking. Adjust the water accordingly for the right dough consistency. Another option is to blend in almond flour with chickpea flour for a lower carb version while still keeping the integrity of the texture.
-
Air Fryer Version: You can use an air fryer to cook these crackers for a quicker option. Shape the crackers, then cook them at 350°F for about 10-12 minutes or until they are crispy. This method keeps them heart-healthy and delicious while reducing cooking time.
FAQs
1. Are garlic chickpea crackers safe for diabetics?
Yes, they are diabetic-friendly due to their low glycemic index thanks to chickpea flour, which is also rich in protein and fiber. This helps in managing blood sugar levels.
2. Can I adjust the sodium content?
Absolutely! You can reduce the salt used in the recipe or experiment with low-sodium alternatives for a healthier option.
3. How do I store leftover crackers?
Store them in an airtight container at room temperature for up to one week. If you want to prolong their freshness, you can freeze them in a freezer-safe bag.
4. Can I use other types of flour?
While chickpea flour is recommended for its high protein and fiber content, you can substitute it with other gluten-free flours like almond flour or coconut flour, though this will change the flavor and texture.
MAKE-AHEAD TIPS FOR Garlic Chickpea Crackers
Making garlic chickpea crackers is perfect for meal prep! You can easily double or triple the recipe and have a healthy snack ready for the week. Spend a little time making a batch on the weekend, and you’ll have crunchy, nutritious snacks on hand. Prepare and bake them all at once, allowing them to cool completely before storage. This way, you can grab a handful whenever you need a quick, satisfying snack.
These garlic chickpea crackers are not just a treat; they are a healthy alternative that supports your wellness goals. Enjoying them as part of a balanced diet can help you manage your weight while giving your body the nutrients it needs. Give this simple recipe a try and crunch your way to healthier snacking!

Garlic Chickpea Crackers
Ingredients
Method
- Preheat the oven to 375°F (190°C).
- In a bowl, mix the chickpea flour, garlic powder, and salt until well combined.
- Add olive oil and mix to form a crumbly texture.
- Gradually add water until a soft dough forms; avoid making it too sticky.
- Roll out the dough on a lightly floured surface until it is very thin.
- Cut into desired shapes using a sharp knife or cookie cutter and place them on a baking sheet lined with parchment paper.
- Bake for 15 to 20 minutes, or until golden and crispy, monitoring to prevent burning.
- Let cool before serving to achieve the desired crunchiness.