
Artisan Breadsticks
Baking artisan breadsticks can be a delightful experience, bringing the aroma of fresh bread into your kitchen. These breadsticks are golden brown, perfectly crispy, and an ideal addition to meals or as a snack. They are versatile enough to pair well with various dishes or enjoy on their own with a dip. In this article, you’ll discover how to make delicious artisan breadsticks that not only taste great but can also fit into a healthy eating regimen.
WHY YOU WILL LOVE THIS RECIPE
This recipe for artisan breadsticks is fantastic because it allows you to enjoy a favorite treat while maintaining a healthy lifestyle. They are a great option for meal prep, making them easy to store and serve throughout the week. Plus, with just a few simple ingredients, you can whip up lighter options that satisfy your craving for bread without derailing your diet.
Additionally, these breadsticks can be tailored to suit various dietary needs and lifestyle choices, making them good for weight loss if you watch your portion sizes. Whether you’re watching your carbs or just looking for a wholesome snack, these breadsticks can be a high-protein meal side that complements your balanced diet.
HOW TO MAKE Artisan Breadsticks
Making artisan breadsticks is simple and straightforward. With a bit of kneading and rising, you’ll create a warm and inviting treat perfect for any occasion.
EQUIPMENT NEEDED
- Large mixing bowl
- Parchment paper
- Baking sheet
- Rolling pin (optional)
- Clean kitchen towel or plastic wrap
- Measuring cups and spoons
Ingredients You’ll Need
- 4 cups all-purpose flour
- 1 packet (2 1/4 teaspoons) active dry yeast
- 1 teaspoon salt
- 1 tablespoon sugar
- 1 1/2 cups warm water
- 2 tablespoons olive oil
- Herbs (optional, such as garlic powder, rosemary, or thyme)
- Marinara or herbed olive oil for dipping
STEP-BY-STEP INSTRUCTIONS
- In a large bowl, combine warm water, sugar, and yeast. Let it sit for 5-10 minutes until it becomes frothy.
- Add the flour, salt, and olive oil. Mix until a dough forms.
- Knead the dough on a floured surface for about 5-7 minutes until smooth.
- Place the dough in a greased bowl, cover it, and let it rise in a warm place for about 1 hour, or until it has doubled in size.
- Preheat the oven to 400°F (200°C).
- Punch down the dough and divide it into 24-26 pieces. Roll each piece into a stick shape.
- Place the breadsticks on a baking sheet lined with parchment paper. Optionally, brush with olive oil and sprinkle with herbs.
- Bake in the preheated oven for 30 to 35 minutes or until golden brown.
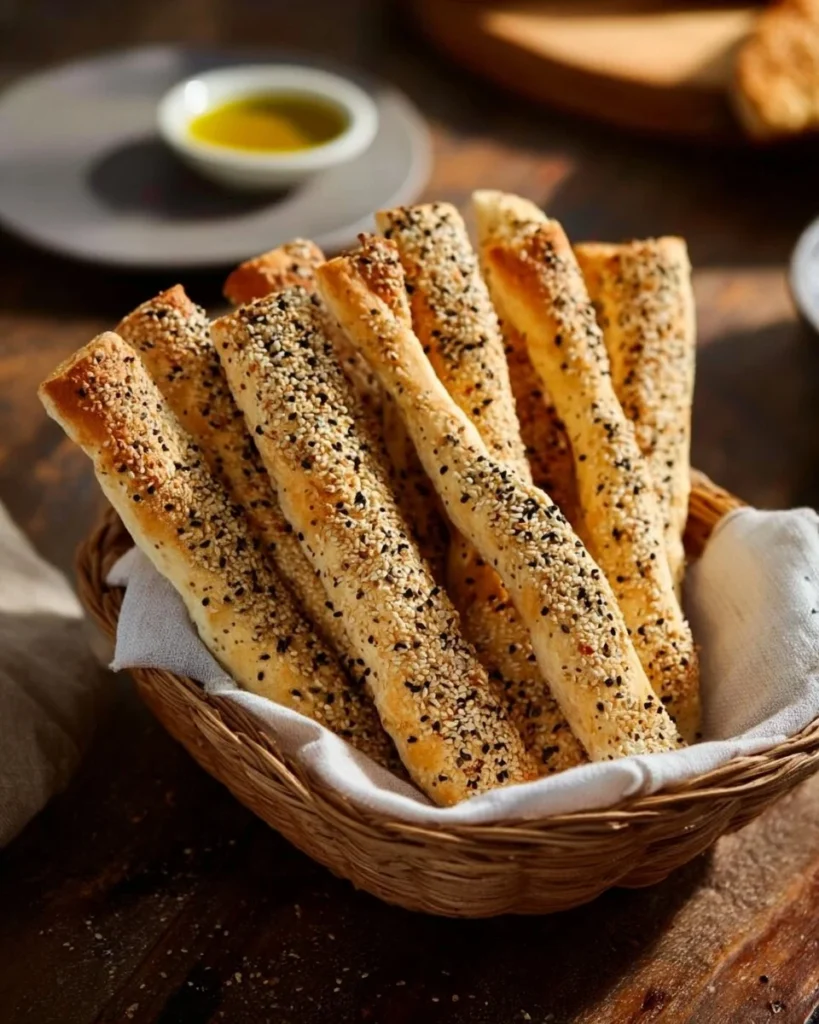
- Serve warm with marinara or herbed olive oil for dipping.

HOW TO SERVE Artisan Breadsticks
These artisan breadsticks are incredibly versatile. They serve well as a side dish to a hearty soup or salad, making for a balanced meal. You can enjoy them plain, but they are especially delicious when dipped in marinara sauce or flavored olive oil. Keep portion control in mind—two to three breadsticks make a great serving without excessive calories.
STORAGE & FREEZING: Artisan Breadsticks
To store leftover breadsticks, let them cool completely and then place them in an airtight container or a zip-top bag. They can be kept at room temperature for up to 3 days. For longer storage, freeze the breadsticks by wrapping them tightly in plastic wrap and then placing them in a freezer-safe bag. They can remain frozen for up to 3 months. To reheat, simply warm them in the oven until they are warmed through and crispy again.
SERVING SUGGESTIONS
These artisan breadsticks are delicious alongside a variety of dishes. Consider serving them with:
- A fresh garden salad with lots of veggies.
- A light soup, such as minestrone or vegetable broth, to make a fulfilling and heart-healthy meal.
- A protein-rich dish like grilled chicken or fish to balance your meal perfectly.
VARIATIONS
Feel free to experiment with these artisan breadsticks to make them healthier or fit different dietary needs.
Healthier Version
You can create a gluten-free version of these breadsticks using a gluten-free flour blend. Replace the all-purpose flour with an equal amount of gluten-free flour mix, and make sure to follow the instructions on the package for yeast breads, as they may require extra steps.
High-Protein or Low-Carb Version
To make these breadsticks a high-protein meal, try adding protein powder to the dough. You can replace 1 cup of flour with a high-protein flour, such as chickpea or almond flour, to increase the protein content while keeping them lower in carbs.
Air Fryer or Oven-Baked Version
If you want to make these breadsticks in an air fryer, shape the dough into sticks and cook them in preheated air fryer at 350°F (175°C) for about 10-12 minutes, or until they are golden brown and crispy. This method can result in a lighter, less oily option compared to traditional baking.
FAQs
Can I make these breadsticks gluten-free?
Yes! You can make these artisan breadsticks gluten-free by using a gluten-free flour blend in place of regular all-purpose flour. Be sure to check the instructions that come with the gluten-free flour for the best results.
How can I store leftover breadsticks?
Once your breadsticks cool completely, store them in an airtight container at room temperature for up to 3 days. For longer-term storage, wrap them tightly in plastic wrap and place them in a freezer-safe bag, where they can last up to 3 months.
Are these breadsticks suitable for weight loss?
Yes! These artisan breadsticks can be a good option for weight loss as long as you keep your portion sizes in check. Made with simple ingredients and no added preservatives, they can fit into a healthy eating pattern.
Can I add different herbs or spices to the recipe?
Absolutely! Feel free to add dried herbs or spices like garlic powder, oregano, or Italian seasoning into the dough for a flavorful twist. Experimenting with flavors makes these breadsticks even more enjoyable.

MAKE-AHEAD TIPS FOR Artisan Breadsticks
If you’re short on time during the week, making these breadsticks ahead can save you a lot of effort. Prepare the dough on a day when you have more time, knead it, and allow it to rise. After it’s risen, you can shape the breadsticks and either bake them straight away or place them in the refrigerator for a slower rise before baking. This can give you fresh, warm breadsticks ready in minutes when you need them most.
In conclusion, these artisan breadsticks are not just a treat for the taste buds but can also be a part of a healthy and balanced diet. With creativity and care, you can ensure they meet your dietary needs, making them a fantastic addition to your meals or snacks. Enjoy your baking!
Artisan Breadsticks
Ingredients
Method
- In a large bowl, combine warm water, sugar, and yeast. Let it sit for 5-10 minutes until it becomes frothy.
- Add the flour, salt, and olive oil. Mix until a dough forms.
- Knead the dough on a floured surface for about 5-7 minutes until smooth.
- Place the dough in a greased bowl, cover it, and let it rise in a warm place for about 1 hour, or until it has doubled in size.
- Preheat the oven to 400°F (200°C).
- Punch down the dough and divide it into 24-26 pieces. Roll each piece into a stick shape.
- Place the breadsticks on a baking sheet lined with parchment paper. Optionally, brush with olive oil and sprinkle with herbs.
- Bake in the preheated oven for 30 to 35 minutes or until golden brown.
- Serve warm with marinara or herbed olive oil for dipping.