Mini No-Bake Cheesecakes Recipe
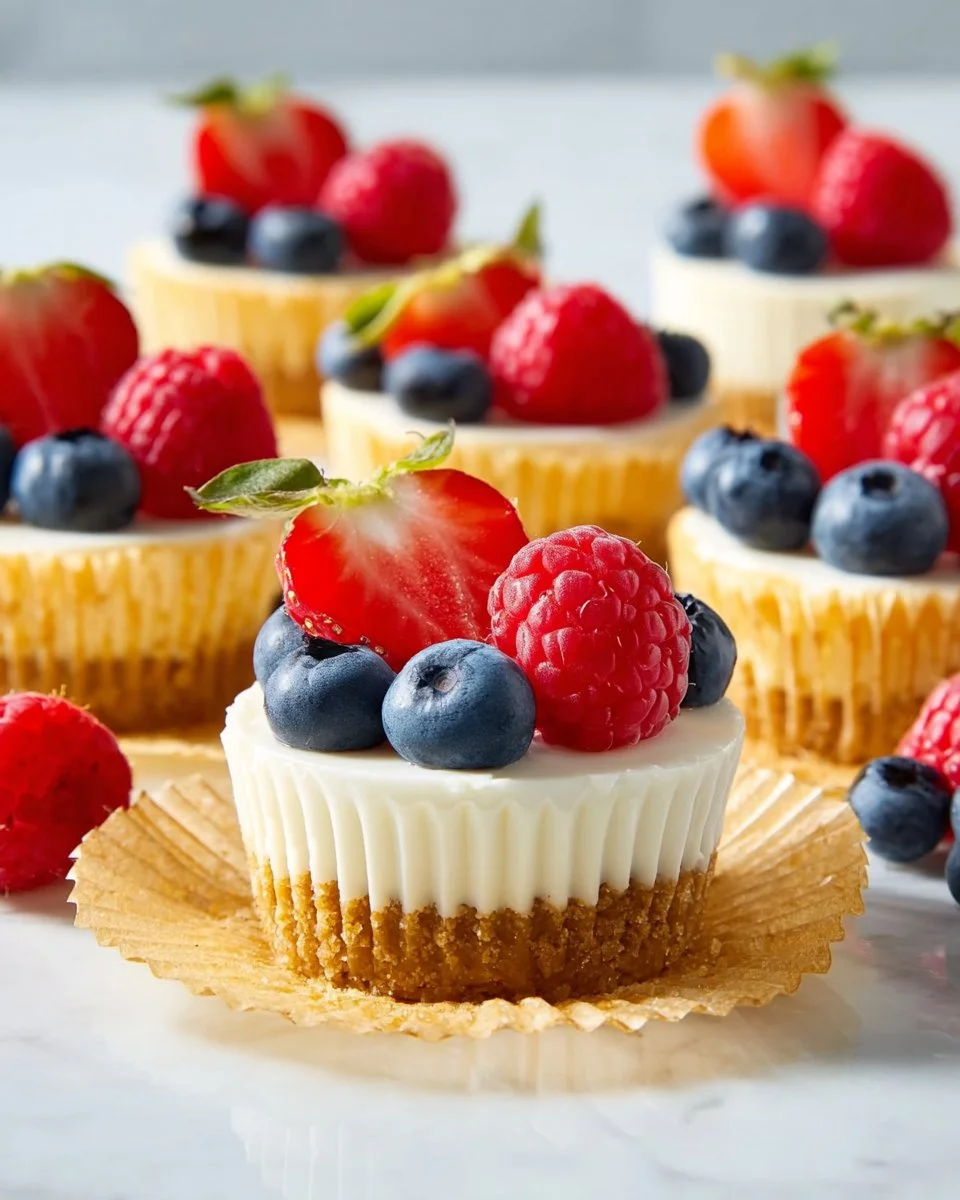
Mini No-Bake Cheesecakes are a delightful treat that makes satisfying your sweet tooth easier and lighter. These individual cheesecakes are not just delicious; they are a healthier version of the classic dessert, perfect for any occasion. With their creamy filling and crumbly crust, they’re a great option for parties or a sweet finish to a meal, especially when you want to keep things light and healthy.
WHY YOU WILL LOVE THIS RECIPE
These Mini No-Bake Cheesecakes accentuate the joy of indulging while remaining a great option for those looking for a healthier alternative to traditional desserts. They are quick to prepare, making them ideal for meal prep or last-minute gatherings. You can whip them up in no time, and since each cheesecake is portioned out, you can easily manage your portion sizes, making these cheesecakes a good choice for weight loss and calorie control. Plus, they are gluten-free, which means they cater to various dietary needs!
HOW TO MAKE Mini No-Bake Cheesecakes
EQUIPMENT NEEDED
- 12-cup muffin pan
- Muffin liners
- Mixing bowls
- Electric mixer
- Medium resealable plastic bag
- Measuring cups and spoons
Ingredients You’ll Need
- 1 cup graham cracker crumbs
- 2 tablespoons brown sugar
- 1/4 cup butter
- 1/2 cup heavy whipping cream
- 8 ounces cream cheese
- 1/3 cup powdered sugar
- 2 tablespoons sour cream
- 2 teaspoons lemon juice
- 1 teaspoon vanilla extract
- 3/4 cup raspberries (or other fresh berries)
STEP-BY-STEP INSTRUCTIONS
- Gather all ingredients.
- Line a 12-cup muffin pan with muffin liners.
- For the crust, combine graham cracker crumbs, brown sugar, and melted butter in a small bowl until evenly combined.
- Press 1 rounded tablespoon of crumb mixture evenly into the bottom of the prepared muffin pan.
- Freeze crusts until set while you prepare the filling, about 15 to 20 minutes.
- For the filling, beat the cold whipping cream in a medium bowl until stiff peaks form, which should take about 3 to 5 minutes. Set aside.
- In a large bowl, beat cream cheese and powdered sugar on medium-high speed until smooth and creamy, around 2 minutes.
- Add sour cream, lemon juice, and vanilla extract to the cream cheese mixture. Beat until combined, roughly 1 minute.
- Fold in the reserved whipped cream gently until just combined.
- Place the filling in a resealable 1-quart plastic bag. Snip off the corner of the bag to create a 1/2-inch opening.
- Pipe the mixture into prepared muffin pans, using about 2 1/2 tablespoons of filling per cup. Smooth the tops as desired.
- Refrigerate the cheesecakes, covered, for 3 hours or up to 5 days.
- Top with fresh raspberries or your favorite toppings. Unwrap and enjoy!

HOW TO SERVE Mini No-Bake Cheesecakes
These Mini No-Bake Cheesecakes are perfect as a stand-alone dessert, but you can also pair them with a fresh fruit salad for a nutrient-packed side. Portion control is easy with these mini cheesecakes, allowing you to enjoy the creamy goodness without going overboard on calories. For a balanced meal, serve these desserts after a light dinner, ensuring a treat that’s both fulfilling and guilt-free.
STORAGE & FREEZING: Mini No-Bake Cheesecakes
Store your Mini No-Bake Cheesecakes in an airtight container in the refrigerator for up to 5 days. You can also freeze them for up to 3 months. If freezing, make sure to wrap each cheesecake well in plastic wrap before placing them in an airtight container. Thaw in the refrigerator overnight before enjoying for the best texture.
SERVING SUGGESTIONS
Serve your Mini No-Bake Cheesecakes with a dollop of Greek yogurt on the side. This addition will boost the protein content, making your dessert even healthier. You could also serve them alongside a light mixed greens salad with a tangy vinaigrette for a colorful and fulfilling meal.
VARIATIONS
-
Healthier Version: Swap out traditional graham crackers for almond flour or nut-based crusts to make it gluten-free and lower in carbs. Use a sugar substitute like Stevia for reduced sugar content.
-
High-Protein Version: Replace cream cheese with Greek yogurt for a high-protein meal that’s still creamy and delicious. You can also add protein powder to the filling for an extra protein boost.
-
Air Fryer Version: If you’re short on time or looking for a different method, try making these cheesecakes in an air fryer. Press the crust into cupcake liners and cook on low for about 6-8 minutes until set. This method still offers a delightful crust while keeping the center creamy.
FAQs
1. Are Mini No-Bake Cheesecakes suitable for diabetics?
Yes! By using a sugar substitute and lowering the overall sugar content in the ingredients, you can create a diabetic-friendly dessert.
2. How can I make these Mini No-Bake Cheesecakes lower in calories?
You can reduce the amount of cream cheese, use low-fat cream cheese, or implement Greek yogurt to cut calories while maintaining the creamy texture.
3. Can I use different fruits for the toppings?
Absolutely! Feel free to get creative and use any fruit you like, such as strawberries, blueberries, or even a fruit compote for added flavor.
4. How long can I keep these cheesecakes in the freezer?
You can keep these cheesecakes frozen for up to three months, and they’re great for meal prep if you want to have desserts ready on hand.

MAKE-AHEAD TIPS FOR Mini No-Bake Cheesecakes
Mini No-Bake Cheesecakes are fantastic for meal prep! Prepare the crust and filling a day in advance and assemble them in the muffin pan. Simply let the cheesecakes chill overnight, and they’ll be ready to serve the next day. This time-saving tactic allows you to manage your dessert preparation efficiently while ensuring you have a healthy, sweet treat on hand for any occasion!
In summary, these Mini No-Bake Cheesecakes provide a satisfying way to indulge your sweet tooth while remaining on track with your health goals. They are a healthy version of a classic dessert, easy to prepare, and customizable for various diets, including gluten-free and high-protein options. So go ahead and treat yourself to a mini cheesecake—you deserve it!

Mini No-Bake Cheesecakes
Ingredients
Method
- Gather all ingredients.
- Line a 12-cup muffin pan with muffin liners.
- For the crust, combine graham cracker crumbs, brown sugar, and melted butter in a small bowl until evenly combined.
- Press 1 rounded tablespoon of crumb mixture evenly into the bottom of the prepared muffin pan.
- Freeze crusts until set while you prepare the filling, about 15 to 20 minutes.
- Beat the cold whipping cream in a medium bowl until stiff peaks form, about 3 to 5 minutes. Set aside.
- In a large bowl, beat cream cheese and powdered sugar on medium-high speed until smooth and creamy, around 2 minutes.
- Add sour cream, lemon juice, and vanilla extract to the cream cheese mixture. Beat until combined, roughly 1 minute.
- Fold in the reserved whipped cream gently until just combined.
- Place the filling in a resealable 1-quart plastic bag. Snip off the corner of the bag to create a 1/2-inch opening.
- Pipe the mixture into prepared muffin pans, using about 2 1/2 tablespoons of filling per cup. Smooth the tops as desired.
- Refrigerate the cheesecakes, covered, for 3 hours or up to 5 days.
- Top with fresh raspberries or your favorite toppings. Unwrap and enjoy!