Garlic Dill Pickles
Garlic dill pickles are a crunchy and flavorful addition to many meals. They are not only delicious but also packed with health benefits. This homemade recipe is easy to follow and results in tangy, crunchy pickles that you can enjoy all year round. Making your own pickles allows you to control the ingredients, ensuring you have a healthy version without any added preservatives or artificial flavors. Plus, they are perfect for meal prep, making snacks easy and convenient.
WHY YOU WILL LOVE THIS RECIPE
This garlic dill pickle recipe is perfect for those seeking a lighter option in their diet. They are low-calorie and can fit well into any healthy eating plan, including for those who are diabetic-friendly or focusing on weight loss. With the crunchiness of fresh cucumbers and the bold flavor of garlic and dill, these pickles can be a savory addition to sandwiches, salads, or enjoyed on their own. They are fantastic for meal prep, as you can whip up a batch in no time and enjoy them throughout the week.
HOW TO MAKE Garlic Dill Pickles
Making garlic dill pickles at home requires only a few simple steps, and the ingredients are easy to find. Follow this guide to create your own healthy pickles that you can enjoy and share with friends and family.
EQUIPMENT NEEDED
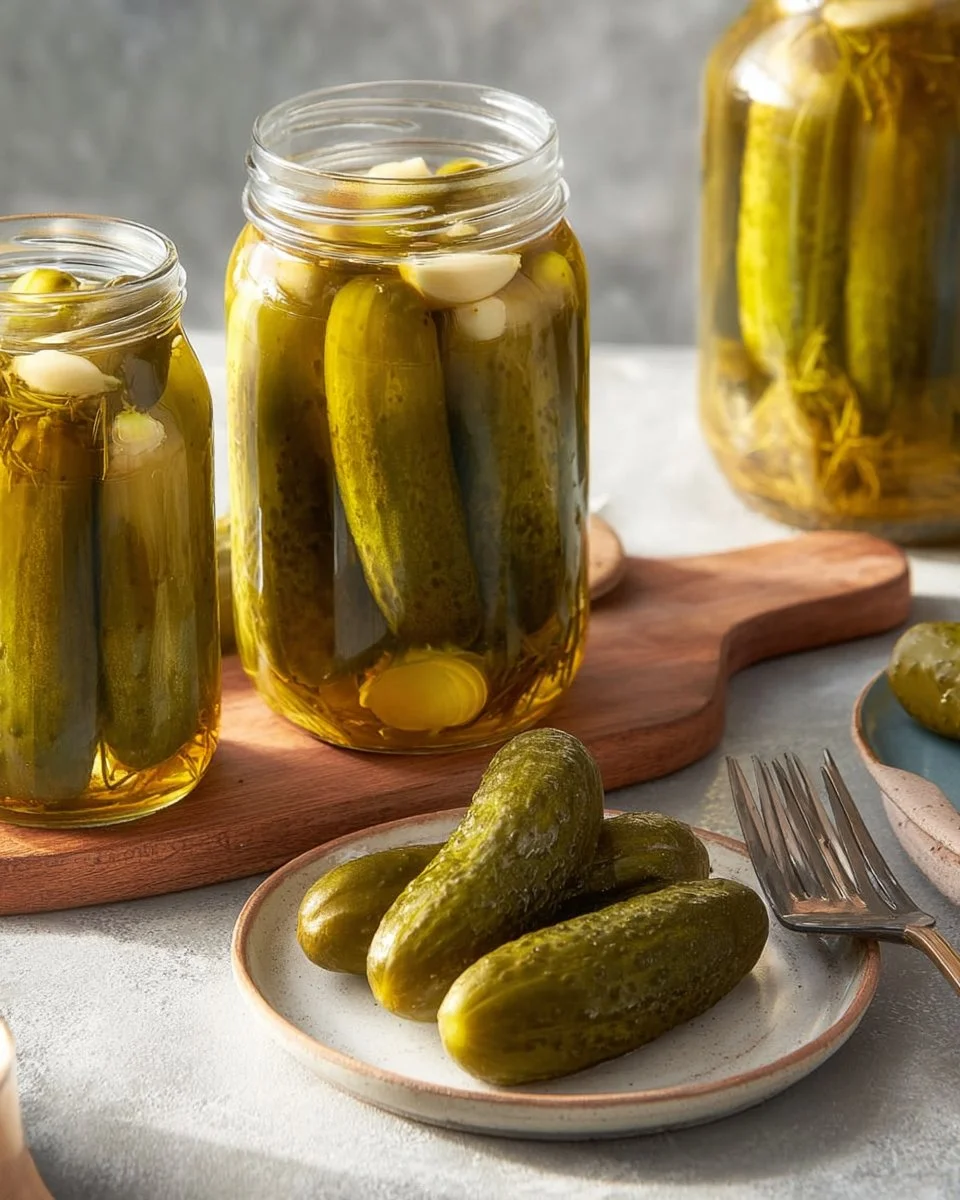
- 1-quart canning jars
- Large saucepan
- Canner or large pot for water bath
- Ladle
- Measuring cups and spoons
- Tongs or jar lifter
Ingredients You’ll Need
- 15 garlic cloves, peeled and halved, divided
- 15 fresh dill heads
- 4 pounds small pickling cucumbers (3 to 4 inches long)
- 6 cups water
- 4-1/2 cups white vinegar
- 6 tablespoons canning salt
- 3/4 teaspoon crushed red pepper flakes
STEP-BY-STEP INSTRUCTIONS
- Place five garlic clove halves and five dill heads in each of three hot 1-quart jars.
- Pack cucumbers into jars to within 1/2 inch of the top.
- In a large saucepan, bring water, vinegar, salt, and crushed red pepper flakes to a boil.
- Carefully ladle the hot liquid over cucumbers, leaving 1/2-inch headspace.
- Add the remaining five garlic clove halves to each jar.
- Remove air bubbles and adjust headspace if necessary by adding the hot mixture.
- Wipe rims and center lids on jars; screw on bands until fingertip tight.
- Place jars into the canner with simmering water, ensuring they are completely covered with water.
- Bring to a boil and process for 15 minutes.
- Remove jars and allow to cool completely.
HOW TO SERVE Garlic Dill Pickles
Garlic dill pickles are versatile and can be served in many ways. Enjoy them as a crunchy snack on their own or as a garnish for sandwiches and burgers. They also add a tangy touch to salads. When serving, practice portion control by limiting yourself to a few pickles at a time, especially if you’re watching your sodium intake.
STORAGE & FREEZING: Garlic Dill Pickles
Once your garlic dill pickles have cooled, store them in a cool, dark place. Properly sealed jars can last for up to a year. After opening, keep your pickles in the refrigerator, where they will stay fresh for several weeks. Avoid freezing pickles, as they will lose their crunchy texture.
SERVING SUGGESTIONS
For a healthy meal, pair garlic dill pickles with a high-protein option such as grilled chicken or turkey sandwiches. You can also serve them alongside a fresh green salad with a light vinaigrette dressing. These combinations ensure a balanced meal while keeping calories in check.
VARIATIONS
-
Healthier Version: Try substituting some of the white vinegar with apple cider vinegar. This can provide additional health benefits such as improved digestion.
-
High-Protein or Low-Carb Version: Enjoy your garlic dill pickles with protein-rich options like hard-boiled eggs or serve alongside a cheese platter featuring low-carb cheeses for a snack that’s friendly for weight loss plans.
-
Air Fryer Version: While pickles are typically canned, you can make air-fried pickle chips for a crispier, lighter snack. Simply slice pickles, coat them lightly in a gluten-free flour mix, and air fry until crispy.
FAQs
-
Are garlic dill pickles healthy?
Yes! Garlic dill pickles are low in calories and can be a great snack for those looking for a crunchy option. They are also low in carbs, making them suitable for many diets, including low-carb and diabetic-friendly diets. -
How should I store my pickles?
Store your homemade garlic dill pickles in a cool, dark place. Once opened, keep them in the refrigerator and enjoy within a few weeks. -
Can I reduce the salt in the recipe?
Yes, you can reduce the salt, but it may affect the preservation of the pickles. Reducing salt will result in a less tangy flavor and shorter shelf life, so it’s best to find a balance that works for you. -
Are pickles good for meal prep?
Absolutely! Garlic dill pickles make an excellent addition to any meal prep plan. They can be easily added to lunches and dinners, providing flavor and crunch while keeping meals low calorie.
MAKE-AHEAD TIPS FOR Garlic Dill Pickles
Making garlic dill pickles is a fantastic option for meal prep. You can whip up a big batch and have them ready for the week. Spend a little time today, and you’ll have a delicious, tangy snack on hand whenever you want. Store them properly, and you’ll have these flavorful pickles ready to enhance your meals with minimal effort. Enjoy the satisfaction of knowing you’ve prepared a healthy, tasty option that complements a balanced diet without added sugars or preservatives.

Garlic Dill Pickles
Ingredients
Method
- Place five garlic clove halves and five dill heads in each of three hot 1-quart jars.
- Pack cucumbers into jars to within 1/2 inch of the top.
- In a large saucepan, bring water, vinegar, salt, and crushed red pepper flakes to a boil.
- Carefully ladle the hot liquid over cucumbers, leaving 1/2-inch headspace.
- Add the remaining five garlic clove halves to each jar.
- Remove air bubbles and adjust headspace if necessary by adding the hot mixture.
- Wipe rims and center lids on jars; screw on bands until fingertip tight.
- Place jars into the canner with simmering water, ensuring they are completely covered with water.
- Bring to a boil and process for 15 minutes.
- Remove jars and allow to cool completely.