Cheese Straws
Cheese Straws
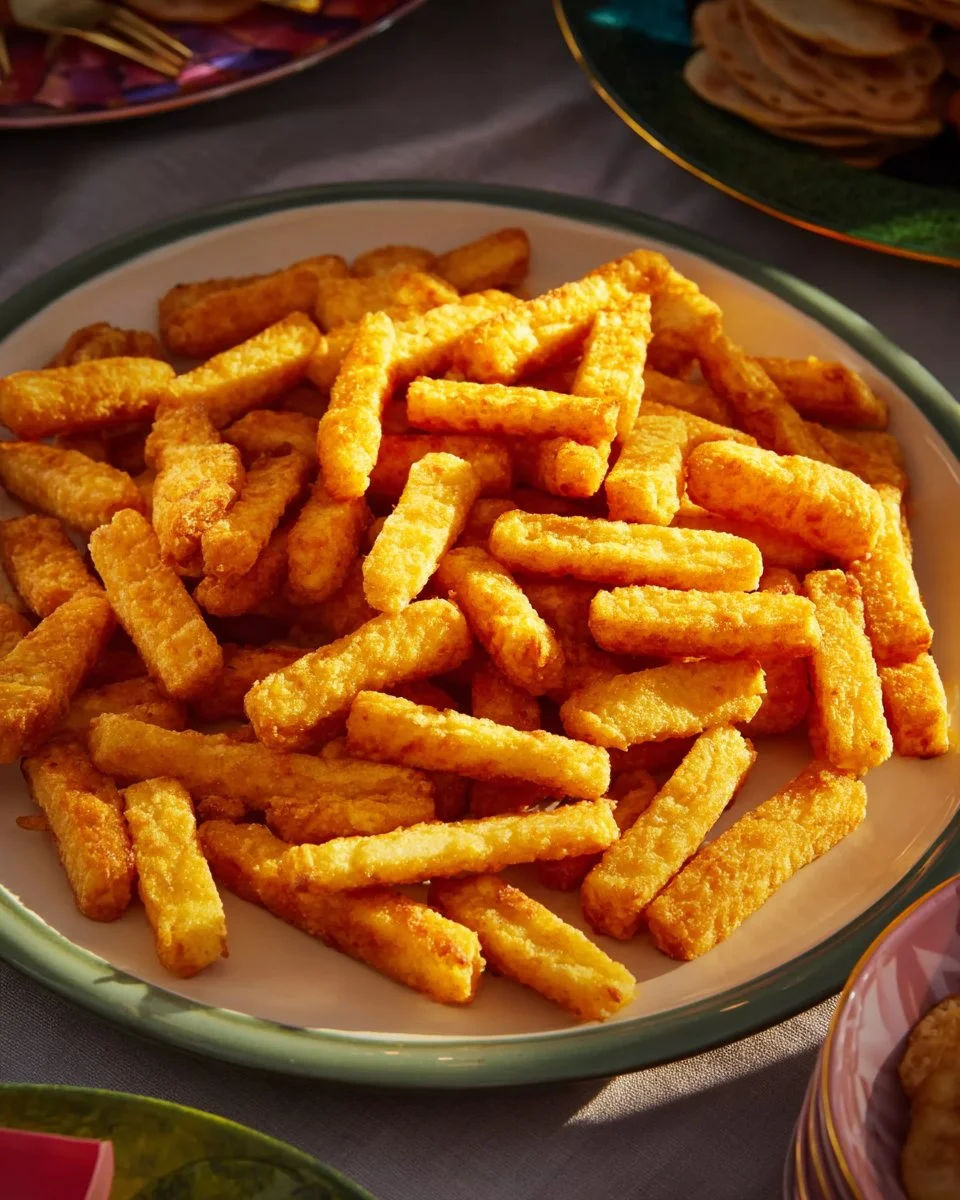
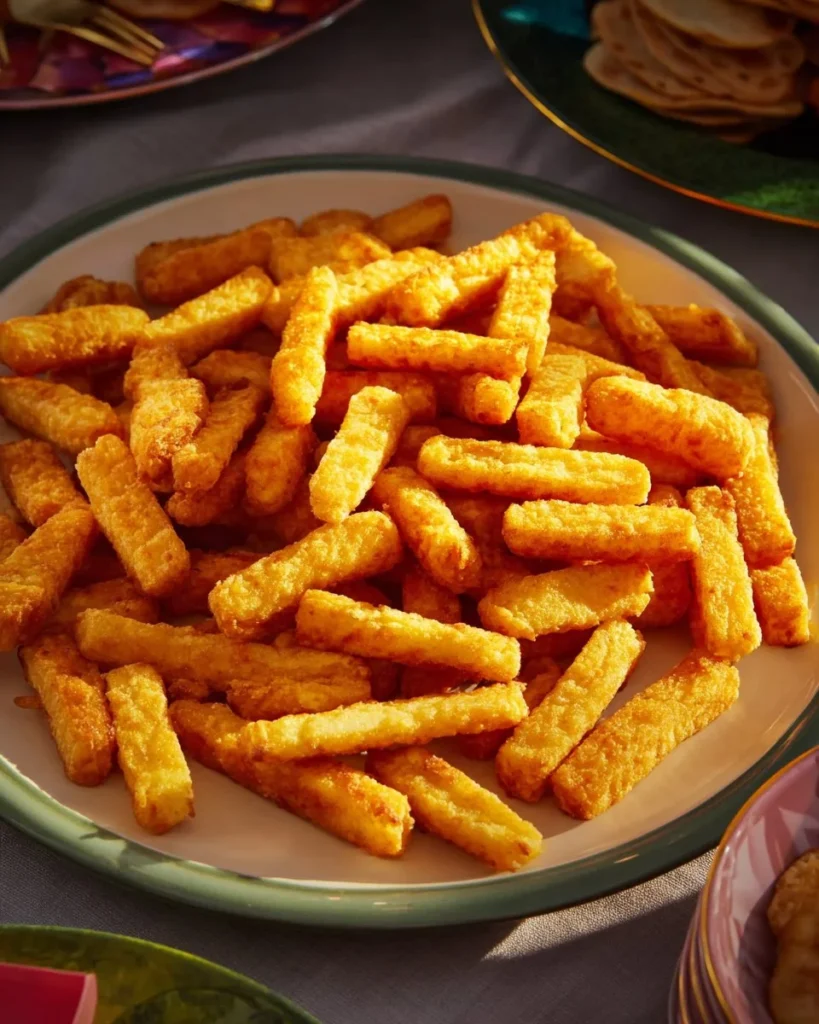
Cheese straws are a beloved snack that can enhance any gathering or simply provide a delicious treat at home. These crispy, cheesy sticks combine buttery goodness with sharp cheddar flavor, making them irresistible. Not only are they a delight for the taste buds, but they can also be a healthier alternative to other snacks if prepared with care.
Why wait for a special occasion? Cheese straws are straightforward to make and delightful to eat, whether enjoyed solo or paired with a dip. Plus, they are an excellent option for meal prep, allowing you to have a snack ready to go whenever hunger strikes.
WHY YOU WILL LOVE THIS RECIPE
This cheese straw recipe is fantastic for those seeking a lighter option or quick meal prep snack. They’re versatile and easy to customize while remaining delicious. These cheesy treats are perfect for weight loss goals if you control your portions. Plus, they are a great comfort food you can feel good about indulging in!
HOW TO MAKE Cheese Straws
Making cheese straws is simpler than you may think. Armed with a few ingredients and some basic kitchen equipment, you’ll have these delectable treats whipped up in no time!
EQUIPMENT NEEDED
- Large mixing bowl
- Electric mixer
- Baking sheets
- Parchment paper or greasing spray
- Rolling pin
- Knife or pastry wheel
- Wire rack for cooling
Ingredients You’ll Need :
- 1/2 cup butter, softened
- 4 cups freshly shredded sharp Cheddar cheese
- 2 cups all-purpose flour
- 1 teaspoon salt
- 2 teaspoons milk, or as needed (optional)
- 1/4 teaspoon ground red pepper (optional)
STEP-BY-STEP INSTRUCTIONS :
-
Preheat your oven to 400 degrees F (200 degrees C). Line baking sheets with parchment paper or lightly grease them. This will ensure your cheese straws come off easily after baking.
-
In a large bowl, beat the softened butter and shredded Cheddar cheese together with an electric mixer until creamy and well blended. This creamy mixture is the base of your cheese straws.
-
Gradually add the flour and salt to the bowl. Mix until a soft dough forms. If you find that the dough is too crumbly, incorporate milk, one teaspoon at a time, until everything just comes together.
-
Transfer the dough to a lightly floured surface. Roll it out to about 1/2 inch thickness.
-
Using a knife or pastry wheel, cut the dough into 2-inch strips. If you have one, you can use a cookie press with a star tip for a more traditional look.
-
Place the cheese straws about 1 1/2 inches apart on the prepared baking sheets. If you like a little kick, sprinkle ground red pepper over them.
-
Bake in the preheated oven until they are golden and crisp, usually about 10 to 15 minutes.
-
Once baked, cool the cheese straws on the baking sheets for about 5 minutes, then transfer them to a wire rack to cool completely.

HOW TO SERVE Cheese Straws
Cheese straws are excellent on their own or served alongside healthy dips like hummus or guacamole. To keep it balanced, aim for a portion of about 3 to 4 cheese straws, especially if you are keeping an eye on calorie intake. Pairing cheese straws with a side of fresh vegetables can also enhance the meal’s health benefits, making your snack richer in fiber and nutrients.
STORAGE & FREEZING : Cheese Straws
You can store cheese straws in an airtight container at room temperature for up to a week. They retain their crunch best if kept in a cool, dry place. If you want to keep them for longer, you can freeze the dough before baking. Wrap it tightly in plastic wrap and store it in the freezer for up to two months. When you’re ready to enjoy them, simply thaw the dough in the fridge, roll, cut, and bake as directed!
SERVING SUGGESTIONS
For a balanced snack or meal, consider serving cheese straws with a salad rich in leafy greens and assorted vegetables. This combination provides plenty of vitamins and minerals, contributing to a heart-healthy and nutritious snack time. Additionally, a light vinaigrette can add flavor without added calories, striking a balance between indulgence and health.
VARIATIONS
-
Healthier Version: Substitute half of the all-purpose flour with whole wheat flour to increase the fiber content while still retaining a delicious taste.
-
High-Protein or Low-Carb Version: To create lower carbs and higher protein cheese straws, use almond flour or coconut flour instead of all-purpose flour. This will significantly reduce carbohydrate counts and add healthy fats from nuts.
-
Air Fryer Version: If you prefer a crispier texture without the extra oil, consider using an air fryer. Arrange the cheese straws in a single layer in the air fryer basket and cook them at 350 degrees F for about 8-10 minutes or until crispy and golden. This method could give you a guilt-free, crunchy treat!
FAQs
1. Can cheese straws be made gluten-free?
Yes! To make cheese straws gluten-free, substitute the all-purpose flour with a gluten-free blend or almond flour.
2. How can I store leftover cheese straws?
Store leftover cheese straws in an airtight container at room temperature for up to a week. You can also freeze the dough for longer storage.
3. Are cheese straws healthy?
Cheese straws can be a healthier snack option when made with whole grain flour or served with fresh vegetables. Keeping portion sizes in check will also help keep them a balanced snack.
4. Can I use other types of cheese?
Absolutely! You can experiment with different types of cheese, like mozzarella or pepper jack, to change the flavor profile of your cheese straws.
MAKE-AHEAD TIPS FOR Cheese Straws
Cheese straws are perfect for meal prep. You can easily make the dough ahead of time and store it in the freezer until you’re ready to bake. This will save you time during busy weeks and allow you to always have a delicious and high-protein snack on hand. You can also prepare and bake a batch, then store them in an airtight container for quick snacks throughout the week. Just remember to control your portion sizes to keep them aligned with your weight-loss or health goals!
In summary, cheese straws are a versatile and delightful snack that you can easily adjust to fit your health needs. Try this recipe for a healthier, satisfying treat that works well for any occasion! Enjoy your cheese straws guilt-free and snack on something that tastes great while also being a better choice for your health!
Cheese Straws
Ingredients
Method
- Preheat your oven to 400 degrees F (200 degrees C). Line baking sheets with parchment paper or lightly grease them.
- In a large bowl, beat the softened butter and shredded Cheddar cheese together with an electric mixer until creamy and well blended.
- Gradually add the flour and salt to the bowl. Mix until a soft dough forms. Add milk one teaspoon at a time if the dough is too crumbly.
- Transfer the dough to a lightly floured surface and roll it out to about 1/2 inch thickness.
- Using a knife or pastry wheel, cut the dough into 2-inch strips.
- Place the cheese straws about 1 1/2 inches apart on the prepared baking sheets. Sprinkle ground red pepper over them if desired.
- Bake in the preheated oven for about 10 to 15 minutes until golden and crisp.
- Cool the cheese straws on the baking sheets for about 5 minutes, then transfer to a wire rack to cool completely.